Razorpay Payment Gateway
This guide covers the basic Razorpay setup (API key for the Flutter client).
caution
This setup uses manual verification only.
For a secure production setup, you must implement server-side verification + Razorpay webhooks in /Halo_Doctor_Cloud_Function_Firebase.
1) Create a Razorpay account
- Open Razorpay and register a new account: https://razorpay.com/
- After registration, open your Razorpay Dashboard.
2) Generate your API key
- Go to Account & Settings → API Keys

- Click Generate Key
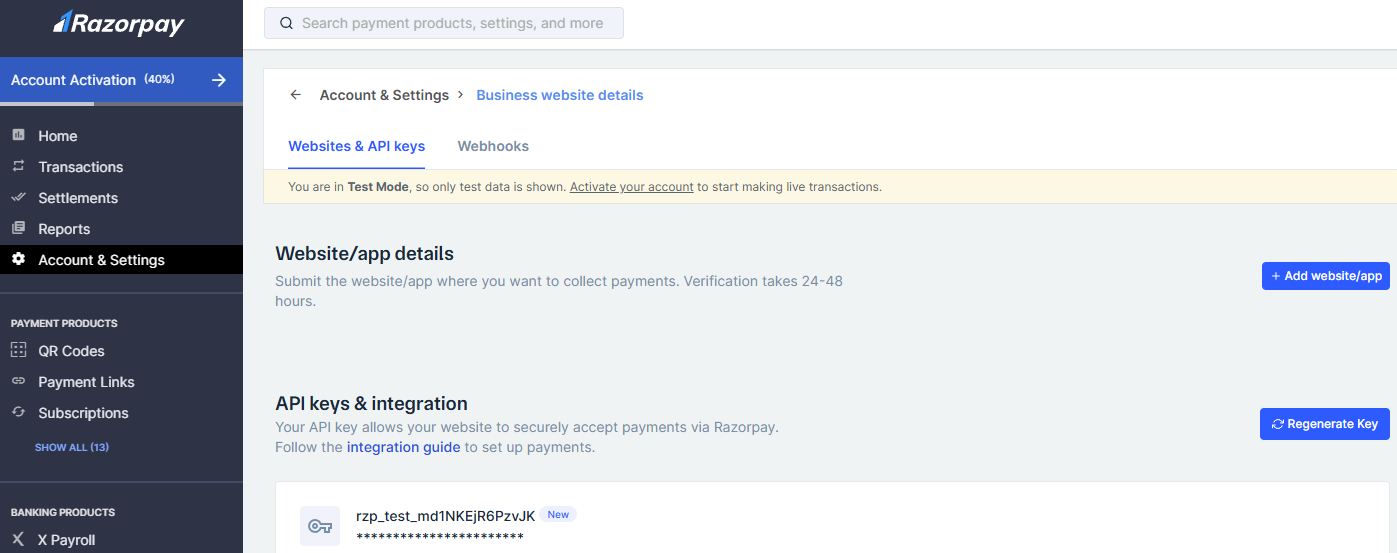
If you already generated a key before, the button will show Regenerate Key.
3) Add the key to the Flutter client (.env)
Copy the Key ID and paste it into the Flutter project .env file in /Hallo_Doctor_Client_Firebase:
/.env
# Razorpay
RAZORPAY_KEY=rzp_test_your_key_id_here
That’s it — Razorpay will be configured on the client, and your payment with Razorpay should work when you run the app.
Next (recommended): secure it with webhooks
To prevent spoofed “payment success” messages from the client, implement a Flutterwave webhook endpoint and verify webhook signatures on the server.